









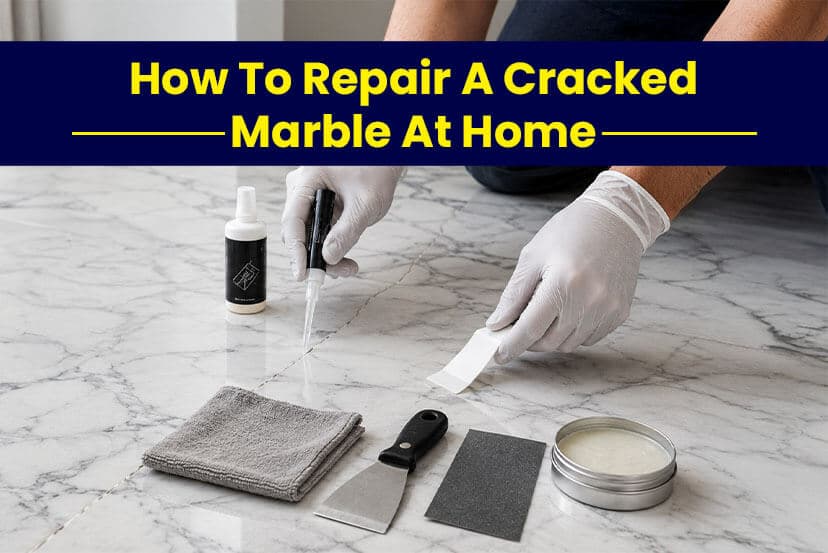
Marble is one of the most elegant and durable natural stones used in homes for flooring, countertops, staircases, tabletops, walls, and decorative surfaces. However, despite its strength, marble can develop cracks due to heavy impact, improper installation, foundation movement, temperature changes, or aging.
A small crack may not seem like a major issue initially, but if left untreated, it can expand over time, weaken the stone, collect dirt, and ruin the appearance of your marble surface. Fortunately, many minor and moderate marble cracks can be repaired at home using the right materials and techniques.
In this comprehensive guide, you’ll learn how to repair cracked marble at home, the tools required, common causes of cracks, expert repair tips, maintenance practices, and when it’s time to call a professional.
Also Read: Top 10 Best Marble Companies in India 2026: Types, Applications, and Prices
Why Does Marble Crack?
Before repairing marble, it’s important to understand what caused the damage.
Some common reasons include:
- Heavy objects falling on marble
- Poor installation or uneven subfloor
- Structural movement in buildings
- Excessive pressure on countertops
- Natural aging of marble
- Temperature fluctuations
- Water seepage beneath marble flooring
- Low-quality marble slabs
- Improper transportation or handling
Tools and Materials Required
Before starting the repair, gather the following items:
- Marble epoxy adhesive
- Clear epoxy resin
- Marble repair kit
- Putty knife
- Painter’s tape
- Soft microfiber cloth
- Acetone or rubbing alcohol
- Fine-grit sandpaper (600–2000 grit)
- Marble polishing powder
- Rubber gloves
- Safety glasses
- Dust mask
- Soft sponge
Having all tools ready ensures a smoother repair process.
Go through the Steps to Repair A Cracked Marble At Home
Step 1: Clean the Marble Thoroughly
Start by cleaning the cracked area.
Remove:
- Dust
- Dirt
- Oil
- Wax
- Moisture
Use acetone or rubbing alcohol with a microfiber cloth.
Avoid household cleaners containing acids because marble is highly sensitive to acidic chemicals.
Allow the surface to dry completely.
Step 2: Inspect the Crack
Determine whether the crack is:
- Hairline crack
- Surface crack
- Deep crack
- Full-thickness crack
Hairline cracks require very little epoxy, while deeper cracks may need fillers and reinforcement.
Step 3: Protect the Surrounding Area
Use painter’s tape around the crack. This prevents epoxy from spreading across the marble and makes cleanup much easier.
Step 4: Apply Marble Epoxy
Mix the epoxy according to the manufacturer’s instructions.
Using a putty knife or applicator:
- Fill the crack slowly.
- Remove trapped air bubbles.
- Ensure the crack is completely filled.
For colored marble, use tinted epoxy that closely matches the stone.
Step 5: Remove Excess Epoxy
Before the epoxy hardens:
- Wipe away excess adhesive.
- Smooth the repair.
- Keep the surface level.
Avoid over-cleaning, as this may pull epoxy out of the crack.
Step 6: Allow Proper Curing
Most marble repair epoxies require:
- 12–24 hours for light curing
- Up to 48 hours for full strength
Avoid walking on repaired marble flooring or placing heavy objects on repaired countertops during this period.
Step 7: Sand and Polish the Surface
Once fully cured:
- Wet-sand gently using fine-grit sandpaper.
- Polish the repaired area using marble polishing powder.
- Buff with a soft cloth until the repaired section blends naturally with the surrounding marble.
The repair should now be smooth and nearly invisible.
7 Important Tips for Marble Crack Repair
1. Repair Small Cracks Immediately
- Even tiny cracks can expand over time.
- Prompt repairs prevent moisture penetration and larger structural damage.
2. Always Use Marble-Specific Epoxy
- Generic adhesives often fail to bond properly with natural stone.
- Choose products specifically designed for marble repair.
3. Match the Marble Color
- Clear epoxy works well for white marble, while colored marble often requires tinted epoxy to achieve a seamless finish.
4. Never Use Acidic Cleaners
Avoid products containing:
- Vinegar
- Lemon juice
- Bleach
- Harsh bathroom cleaners
These chemicals can permanently etch marble surfaces.
5. Avoid Excessive Force During Sanding
- Too much sanding may remove the marble’s natural polish.
- Use only fine-grit sandpaper and apply light pressure.
6. Seal the Marble After Repair
A quality marble sealer helps:
- Prevent moisture penetration
- Reduce staining
- Increase durability
- Protect repaired areas
Reseal periodically based on usage and manufacturer recommendations.
7. Monitor the Crack
If the repaired crack widens or reappears within a few months, the issue may be structural rather than cosmetic. Consult a professional for inspection.
Common Mistakes to Avoid
Many DIY repairs fail because of simple mistakes.
Avoid:
- Applying epoxy on dirty surfaces
- Using super glue instead of stone epoxy
- Walking on marble before curing
- Using coarse sandpaper
- Skipping polishing
- Ignoring deep structural cracks
- Using acidic cleaning products
How Long Does Marble Repair Last?
Repair durability depends on:
| Factor | Expected Performance |
| Quality epoxy | 10–20 years |
| Proper installation | Excellent |
| Indoor marble | Long-lasting |
| Outdoor marble | Moderate due to weather exposure |
| Regular maintenance | Significantly extends lifespan |
With proper care, many repairs remain effective for years.
When Should You Replace Instead of Repair?
Replacement is recommended when:
- The marble has shattered.
- Multiple cracks intersect.
- Large sections are loose.
- The slab has severe structural damage.
- Water has compromised the base.
- Repairs would be more expensive than replacement.
Marble Maintenance Tips
After repairing your marble, follow these maintenance practices:
- Clean with a pH-neutral stone cleaner.
- Wipe spills immediately.
- Use mats beneath heavy furniture.
- Avoid dragging appliances or furniture across marble floors.
- Place coasters under beverages.
- Use cutting boards on marble countertops.
- Reseal marble periodically as recommended for your stone and environment.
DIY vs Professional Marble Repair
| Feature | DIY Repair | Professional Repair |
| Cost | Low | Higher |
| Suitable for hairline cracks | Yes | Yes |
| Suitable for deep cracks | Limited | Yes |
| Color matching | Moderate | Excellent |
| Polishing quality | Good | Professional-grade |
| Structural repairs | No | Yes |
Conclusion
Repairing a cracked marble surface at home is often a practical and cost-effective solution for minor damage. By cleaning the area thoroughly, selecting a marble-specific epoxy, allowing adequate curing time, and finishing with careful sanding and polishing, you can restore both the appearance and functionality of your marble. Regular maintenance, prompt attention to new cracks, and proper sealing will help keep your marble surfaces looking beautiful for years. For deep, structural, or recurring cracks, seeking professional assistance is the safest way to ensure a durable and long-lasting repair. Businesses and industries looking to buy marbles in bulk at the most reasonable prices can simply procure them at Business Moglix. You can also raise the RFQ for the best and most compatible prices.
Frequently Asked Questions (FAQs)
1. Can cracked marble be repaired permanently?
Most hairlines and minor cracks can be repaired for many years using high-quality epoxy and proper maintenance. Structural cracks may require professional repair or replacement.
2. Can I use super glue to repair marble?
No. Super glue is not designed for natural stone and generally lacks the strength, durability, and appearance needed for marble repairs. Use marble-specific epoxy instead.
3. Is repairing marble cheaper than replacing it?
Yes. Repairing small cracks is typically much more affordable than replacing an entire marble slab or floor section.
4. How long should the epoxy cure before using the marble?
Many marble repair epoxies cure enough for light use within 12–24 hours, but full strength can take up to 48 hours. Always follow the product instructions.
5. Can cracked marble become stronger after repair?
A quality epoxy repair restores much of the marble’s integrity for minor cracks, but the repaired area may not be as strong as an undamaged slab, especially if the crack was structural.